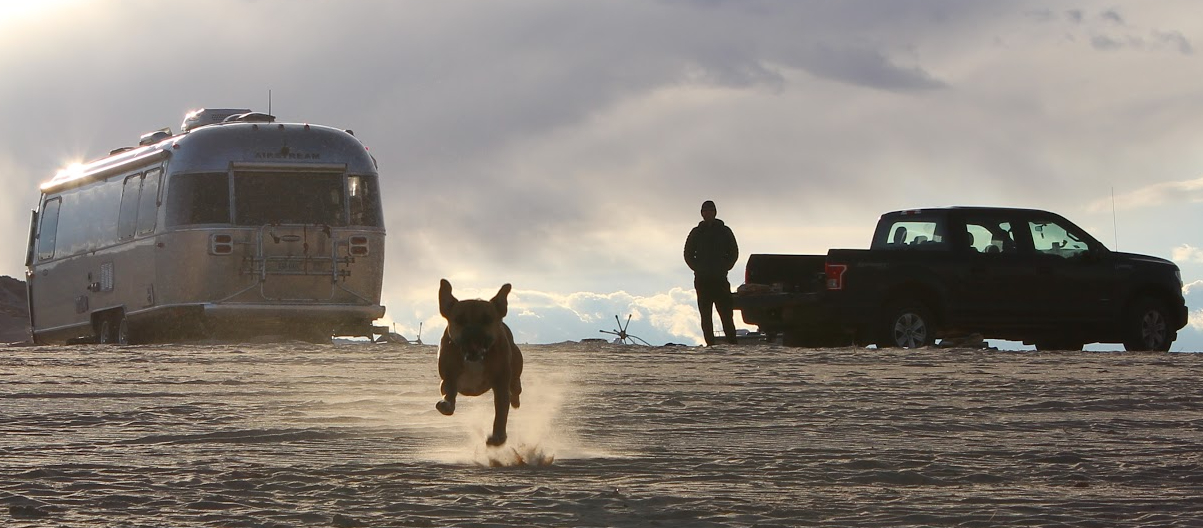

We recently purchased a 2016 International, and did a lot of online research to find out all the things we need to look for on our final walkthrough at the dealership. Many of the items we read about didn’t apply to a new trailer, and many didn’t directly apply to us as our trailer was winterized when we picked it up. We agreed with the dealer that we would un-winterize it at a nearby campground, spend a couple days checking everything out, and come back to the dealership after to go over any issues we found. The service guys at the dealership would then help us re-winterize it to make sure we had the process down pat.
Here is the list we took to the checkout with us:
ROOF
- check roof for damage and uncaulked fasteners
- check flange of skylight to make sure plastic not cracked by overtorquing of screws
- check solar panels
EXTERIOR
- check awning: each position
- check that the main door locks work smoothly
- look for any space between door and frame when door closed
- check screen door clasp
- check exterior access hatches: easy to open, no water spots inside from gasket leaks
- get a demo on opening front window covers and stone guards
- find stability jack locations on both sides of trailer
- check sealant around all windows
- check fit and seal on front compartment door (turn on light, close door, look for light)
- check all exterior lights
- check LEDs on both (fore and streetside) shore power inlets to make sure they light up correctly
- check all rivets to make sure none are popped
INTERIOR
- check all lights
- check all rivets to make sure none are popped
- try a/c; check every air vent to make sure air is moving (if no shore power, turn on a/c fan)


Leave a Reply